

How to convert an image into vector paths with Illustrator
Originally written by James Richardson on 12/30/2008
The great thing about Adobe Illustrator is that you can convert a raster image into vector paths. This basic tutorial will show you how to use the Illustrator "Live Trace" and "Live Paint" options. There are many different things you can do with these option. You can convert an image into Black and White, Grayscale, or color vectors ranging in 256 colors into Scalable Vector Graphics (SVG). This is a great way to cut your time down when making animated drawings.
Traditionally, the artist would use combinations of the pen, shape, paint brush, and other tools to manually create a "digitized" version of a real image. "Live Trace" and "Live Paint" can make these for you. So here we will make a simple vector graphic out of an image.
Create a New Document
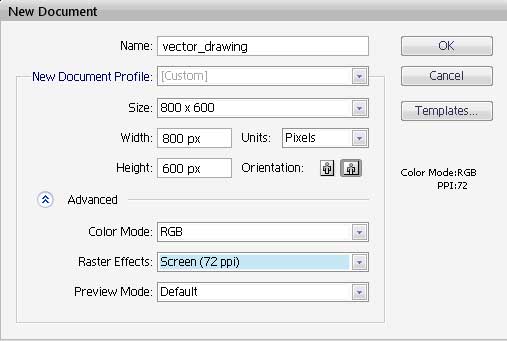
First we will create a new document. (See illustration below) We will make this in standard web resolution of 72, RGB mode, and 800x600. This is so the vector graphic will be suitable for the web. I named the file "vector_drawing"; however, you can name it whatever you want.
Insert Graphic for Vector Path creation
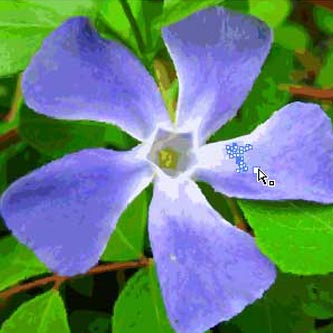
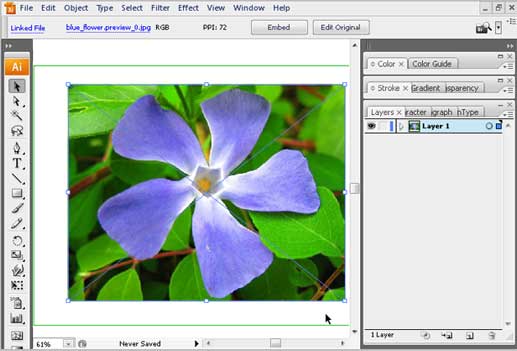
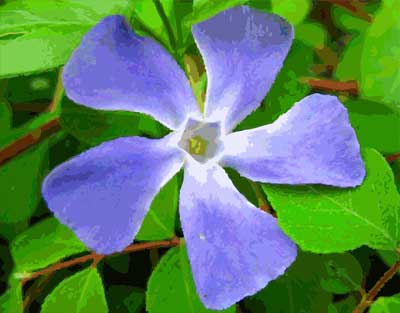
Once you have created your document, you can now find an image you would like to create into vector graphic. I choose a flower to make into vector graphic. (See illustration below) You can drag the image directly into Illustrator and you graphic will be automatically imported into the program. Or, you can go the long way and go to File/place and browse for your image. Then you can import the image into Illustrator.
Begin the "Live Trace"
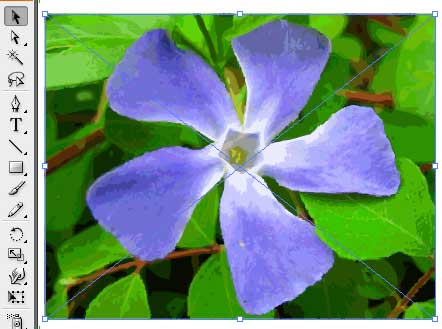
Once you have you image imported into Illustrator, you can begin working on it. With the black arrow (selection tool), select the image that you imported. When the image is selected, the image will have blue lines crossing it out in the shape of an X. This shows that you have selected the image.
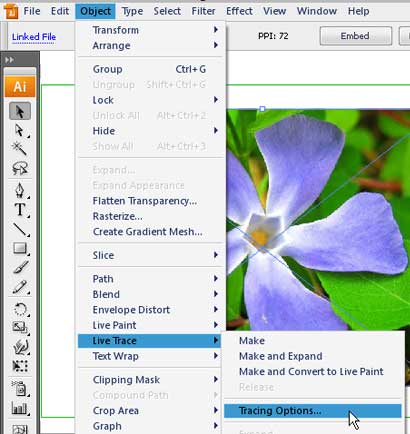
Once you select the image, go to Object/Live Trace/ Tracing Options. (See Illustration Below)
Set up Tracing Options
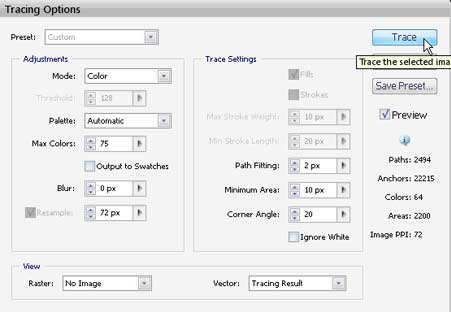
After you select the Tracing Options, the Tracing Options Dialogue Box will appear. (See Illustration Below) In the Tracing Options Dialogue Box, you will see many different options that are available to trace your image. I choose to select the color option in the "Mode" drop down list with 75 colors. You can choose as many as 256 or as little as 2, depending on what you want to do.
Make sure you check the preview box so you can see what Illustrator is creating, prior to your accepting the changes. Try changing the different options to experiment with what each one does.
When you find what you want to do with your image, select OK.
Edit the picture by using the Live Paint option
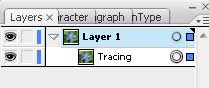 In the layer pallet, the sub layer will say tracing. (See illustration to the left.)
This is the layer that holds all of the tracing information. Amazingly, the 75 colors I chose for my flower created a pretty realistic looking drawing.(See illustration below)
In the layer pallet, the sub layer will say tracing. (See illustration to the left.)
This is the layer that holds all of the tracing information. Amazingly, the 75 colors I chose for my flower created a pretty realistic looking drawing.(See illustration below)
If you zoom in to the image, it will look like a bunch of scribbly lines. Live Trace traces the image; however, the editing ability of the vector paths are not available. You can edit the picture by using the Live Paint option.
Convert the image into Vectors
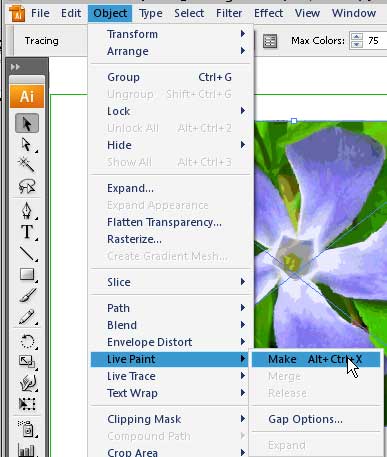
To create the tracing into vector paths, you need to select the image using the black "Selection Tool". With the image selected, go to the Object/Live Paint/ Make option on the menu. This will convert the tracing into vector paths which will enable you to access the individual tracing paths in the image.
In the layers pallet, where it used to say tracing, it will now say "Live Paint Group". In that live Paint group will be hundreds of little paths created by Illustrator. These paths an be edited individually now.
(See Illustration below)

If you select the white arrow, "Direct Selection Tool", you will now be able to select each path individually and manipulate the shape, color, outlines or whatever you want. (See illustration below) When the path is selected, each of the anchor points that make the vector path shows and you can move them, resize them or whatever you need.

Save the image
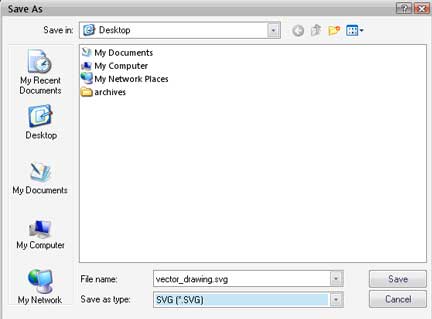
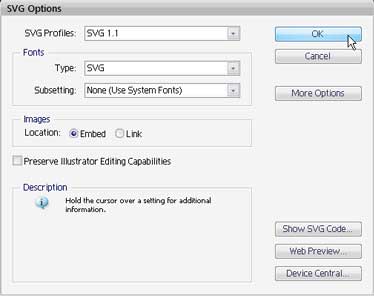
You can save this file as an svg, ia, or eps file format if needed. We will save this file as an svg "Scalable Vector Graphic" for sake of this tutorial. (See illustration below)
The svg file format will have all of these paths mathematically made. If you open the svg file in notepad you will see that the file contains many path calculations in it. In case you were wondering why we would even care about an svg, I'll tell you why. This is so that the image can be sized without pixelization.
If you open the jpeg of the original image in notepad, you will see the "binary" data that comprises the image. The binary data does not scale to size, so you will suffer from quality loss when the image is resized. Never the less, our intent in this tutorial was to create a "digitized" or drawing out of a real image.
When you are done with your image, you will have a nice drawing of the image. The following image is how my image turned out. I am sure these features will be useful in the future and I hope you have fun drawing.
Check Out my web content
Examples of my blog and forum posts
Examples of my content
InMotion Hosting Articles
At InMotion Hosting, I wrote hundreds of articles and answered countless support questions. Please check out my articles to get a good feel of my technical writing skills.
Web Hosting Hub Articles
I wrote many articles at the Web Hosting Hub support center. Unfortunately, I cannot produce a list of these articles as the Manager at Web Hostiung Hub set my user to Null. You can however see my support questions.
Web Development Links
Recommended Solutions
Copyright © james-richardson.org | Web Design by James Richardson at Absolute Web Dev